
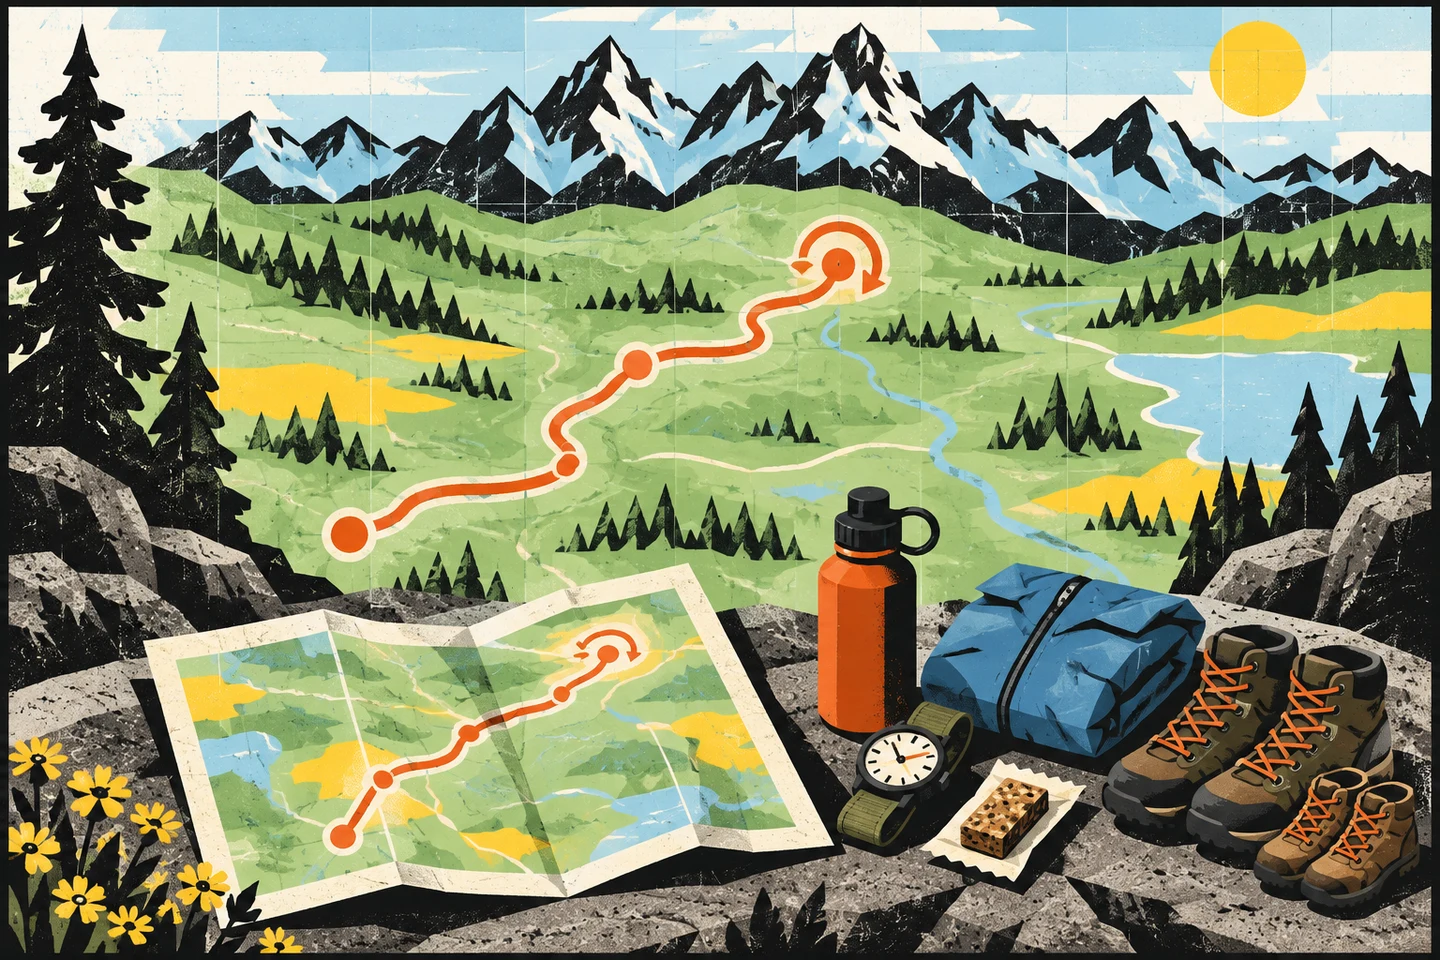
Plan a family hike around the walk back, not just the destination. A route that looks short on a map may take longer when a child wants to stop, the ground is uneven or the weather changes. Choose a route that suits the least comfortable walker, then agree on a place and time to turn around before leaving.
This is a way to assess a route, not a list of trails near Driggs. Use a current map and the managing agency’s information to find candidates. The National Park Service recommends matching an outing’s duration, difficulty, weather and required skills to the group’s fitness and experience in its trip-planning guide.
Start with the walker who sets the pace
Think about what each child can manage on an ordinary day. Can they walk steadily on dirt? Are rocks, roots or loose gravel difficult? Might they need help or a carry on the return? Include adults whose mobility or fitness limits the group. A distance that feels easy on a smooth path can require more time on a steep or uneven trail.
Ask children what they would enjoy along the way. A short walk with time to investigate plants, listen to water or pause for a snack can be a complete outing. The National Park Service’s hiking-with-kids guidance encourages observation and patience, and recommends water, snacks, a map, first aid supplies, and suitable clothing and footwear. If someone is uncomfortable before the start, choose a shorter walk.
Estimate the time for the whole group, including stops, rather than using an adult’s usual walking pace. A child may move quickly at first and need a slower return. If the plan depends on everyone maintaining the outward pace, shorten it. Check whether a stroller or other equipment can actually pass the described surface; a route’s distance alone will not answer that question.
Separate Teton Valley from Grand Teton National Park
Hikes around Driggs, Idaho, and those in Grand Teton National Park are different plans. The park is in Wyoming, according to its official visitor information. A park trail across the pass needs its own travel time, conditions check and park information; it should not be described as a Teton Valley trail.
For example, the park describes its Lakeshore Trail as a family-friendly loop in its Grand Teton trip ideas. That is a park-managed route in Wyoming, not a promise that it will suit every child on every day. The park advises checking conditions and keeping alternatives. For an Idaho-side walk, find the trail manager’s route description, map, alerts and posted notices. If you cannot confirm the route, its return distance or whether it is open, choose one you can verify.
Confirm where the trail begins and where the route actually goes. A search result may name a viewpoint without making clear which trailhead, junctions or return path it uses. Trace the entire walk on the map, including any road travel to the start. Keep a second, simpler option in the same general area so a changed forecast or closed trail does not force a hurried choice at the trailhead.
Compare routes by the whole outing
Find two or three possible walks and record each one from trailhead back to trailhead. An out-and-back description may emphasise the destination while leaving its return leg unstated. A loop may have no short way back after its last practical exit. If distance or elevation gain is unclear, resolve it before setting out instead of treating it as zero.
- Ability: Who sets the pace, and could anyone need help on the return? Choose a distance that person can finish.
- Climbing: How much does the route climb, and where? Allow for effort on both the ascent and descent.
- Surface: Is it smooth, rocky, muddy or narrow? Match it to the group’s footing and equipment.
- Return: How far remains at the proposed turnaround or loop decision point? Reserve time, food, water and energy for it.
- Weather and light: What is forecast during the walk and the trip back? Shorten or change the outing if conditions reduce your margin.
- Access: Do current alerts and trailhead notices show that the route is open and usable?
Do not turn the answers into a numerical score. A closure, a crossing the group cannot manage, too little daylight or a return beyond someone’s ability is enough to rule out a route. An “easy” label is a starting point for checking suitability, not a guarantee. Compare the options for the same group on the same day: a shorter but steep trail may be harder than a longer, smoother one with an obvious place to turn back.
Write down which part of each route is uncertain. An unknown surface, unclear junction or missing return distance is something to check with the managing agency’s map or notice, not something to fill in by guesswork. If that information remains unavailable, pick the route whose full course you can follow. This matters especially for a loop, where continuing may be the only practical way back.
Choose a turnaround before setting off
Mark a recognisable junction or other mapped feature as the turnaround point and set a latest turnaround time. Decide in advance to head back when either limit is reached. Reaching the point early does not automatically make an extension sensible: check the extra distance, conditions, supplies and daylight before changing the plan.
At the outward limit, ask everyone about their feet and energy, and look at the time and weather. Drink water and eat a snack if needed. Check what remains for the return and an unexpected delay. Notice pace and comfort as well as spoken answers: a child keen to reach a destination may say they can continue even when slowing down. If someone is tiring or conditions are worsening, turn back before the planned limit.
Use the same checks after a long stop. Rest may improve someone’s mood without changing the distance home. Before continuing, make sure the group can still walk that distance within the remaining daylight. If the trail becomes harder than the description suggested, reassess at the next safe place to stop. The planned marker is a maximum outward point, not a target you must reach.
A loop needs a different decision point. Its map midpoint may offer no shortcut to the trailhead. Identify the last place where a shorter return is possible and check the group there. If there is no useful exit, allow more margin before committing to the full loop. Do not assume the second half will feel like the first; fatigue and changing ground can alter the pace.
Pack and share a usable plan
Carry water and snacks for everyone, layers suited to the forecast, a map available without a signal and basic first aid supplies. Check that footwear suits the surface. Keep an extra layer accessible for a child who cools down during a stop. A phone can be useful, but service or power may fail, so know the route without depending on it.
Tell a trusted person who is not hiking your intended route, starting point, turnaround and expected check-in time. Update them if the route changes before departure, and check in after the outing. “We are going hiking” is too vague to help someone understand where the group intended to be.
At the trailhead, read posted notices and compare them with what you found at home. Recheck the weather and the land manager’s current alerts on the day. A closure, muddy section or storm forecast may make the shorter option preferable, or make another day the better choice. Start only when the group has enough time and supplies for the return. If the walk stops fitting the group, use the turnaround you planned.